Table of Contents
Set up integration
- Step 1: Create an Auth0 Application
- Step 2: Get Your API Credentials
- Step 3: Set Up the Integration in Huma
Active integration
- Supported Features
- Enable Authentication
- Manage Access Through Auth0
- Multiple Authentication Providers Supported
- 🔐 Security & Compliance
How to set it up
Step 1: Create an Auth0 Application
To begin, register a new application in Auth0:
-
Log in to your Auth0 admin dashboard
-
Navigate to Applications
-
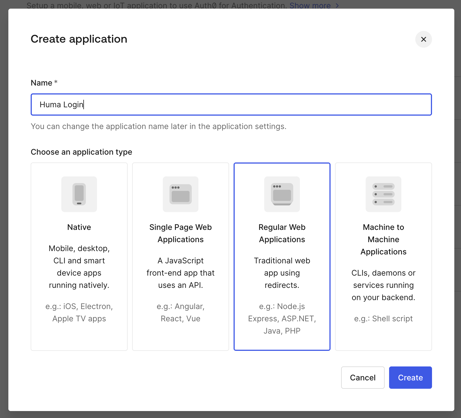
Click “Create Application”
-
Name the application (e.g., “Huma Login”)
-
Select “Regular Web Applications”
-
Click Create
Step 2: Configure Application Settings
-
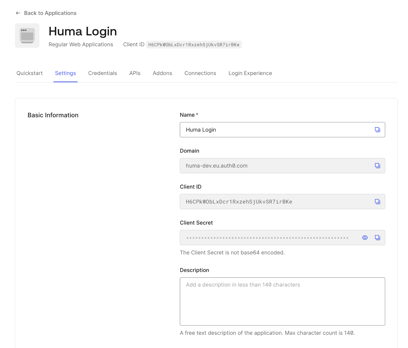
Open your application and navigate to Settings
-
Set Application Login URl to
https://auth.humahr.com/ -
After saving, locate and copy the following from your Auth0 application settings:
-
-
Client ID
-
Client Secret
-
Domain (e.g.,
your-tenant.auth0.com)
-
Step 3: Set Up the Integration in Huma
🔐 You’ll need system-level access in Huma to manage integrations.
-
Log in to your Huma HR organization
-
Go to Settings > Login methods
-
Choose Auth0 and Set up
-
Enter the following values:
-
Client ID (from Auth0)
-
Client Secret (from Auth0)
-
Domain (e.g.,
https://your-tenant.auth0.com)
-
-
Click Save
Once the connection is established, Huma will list Auth0 as a login option for your organization. 🎉

Using the auth0 Integration
Supported Features
-
Enable Authentication
Allow employees to log in to Huma using their Auth0 credentials.👉 Note: The user’s email in Auth0 must match an existing email in Huma.
-
Manage Access Through Auth0
If a user is deactivated or removed in Auth0, their access to Huma will be automatically revoked. -
Multiple Authentication Providers Supported
Auth0 can be used alongside other providers like Google Workspace, Microsoft Entra ID, and others.